Materials:
- 4-ply worsted weight acrylic
- I hook
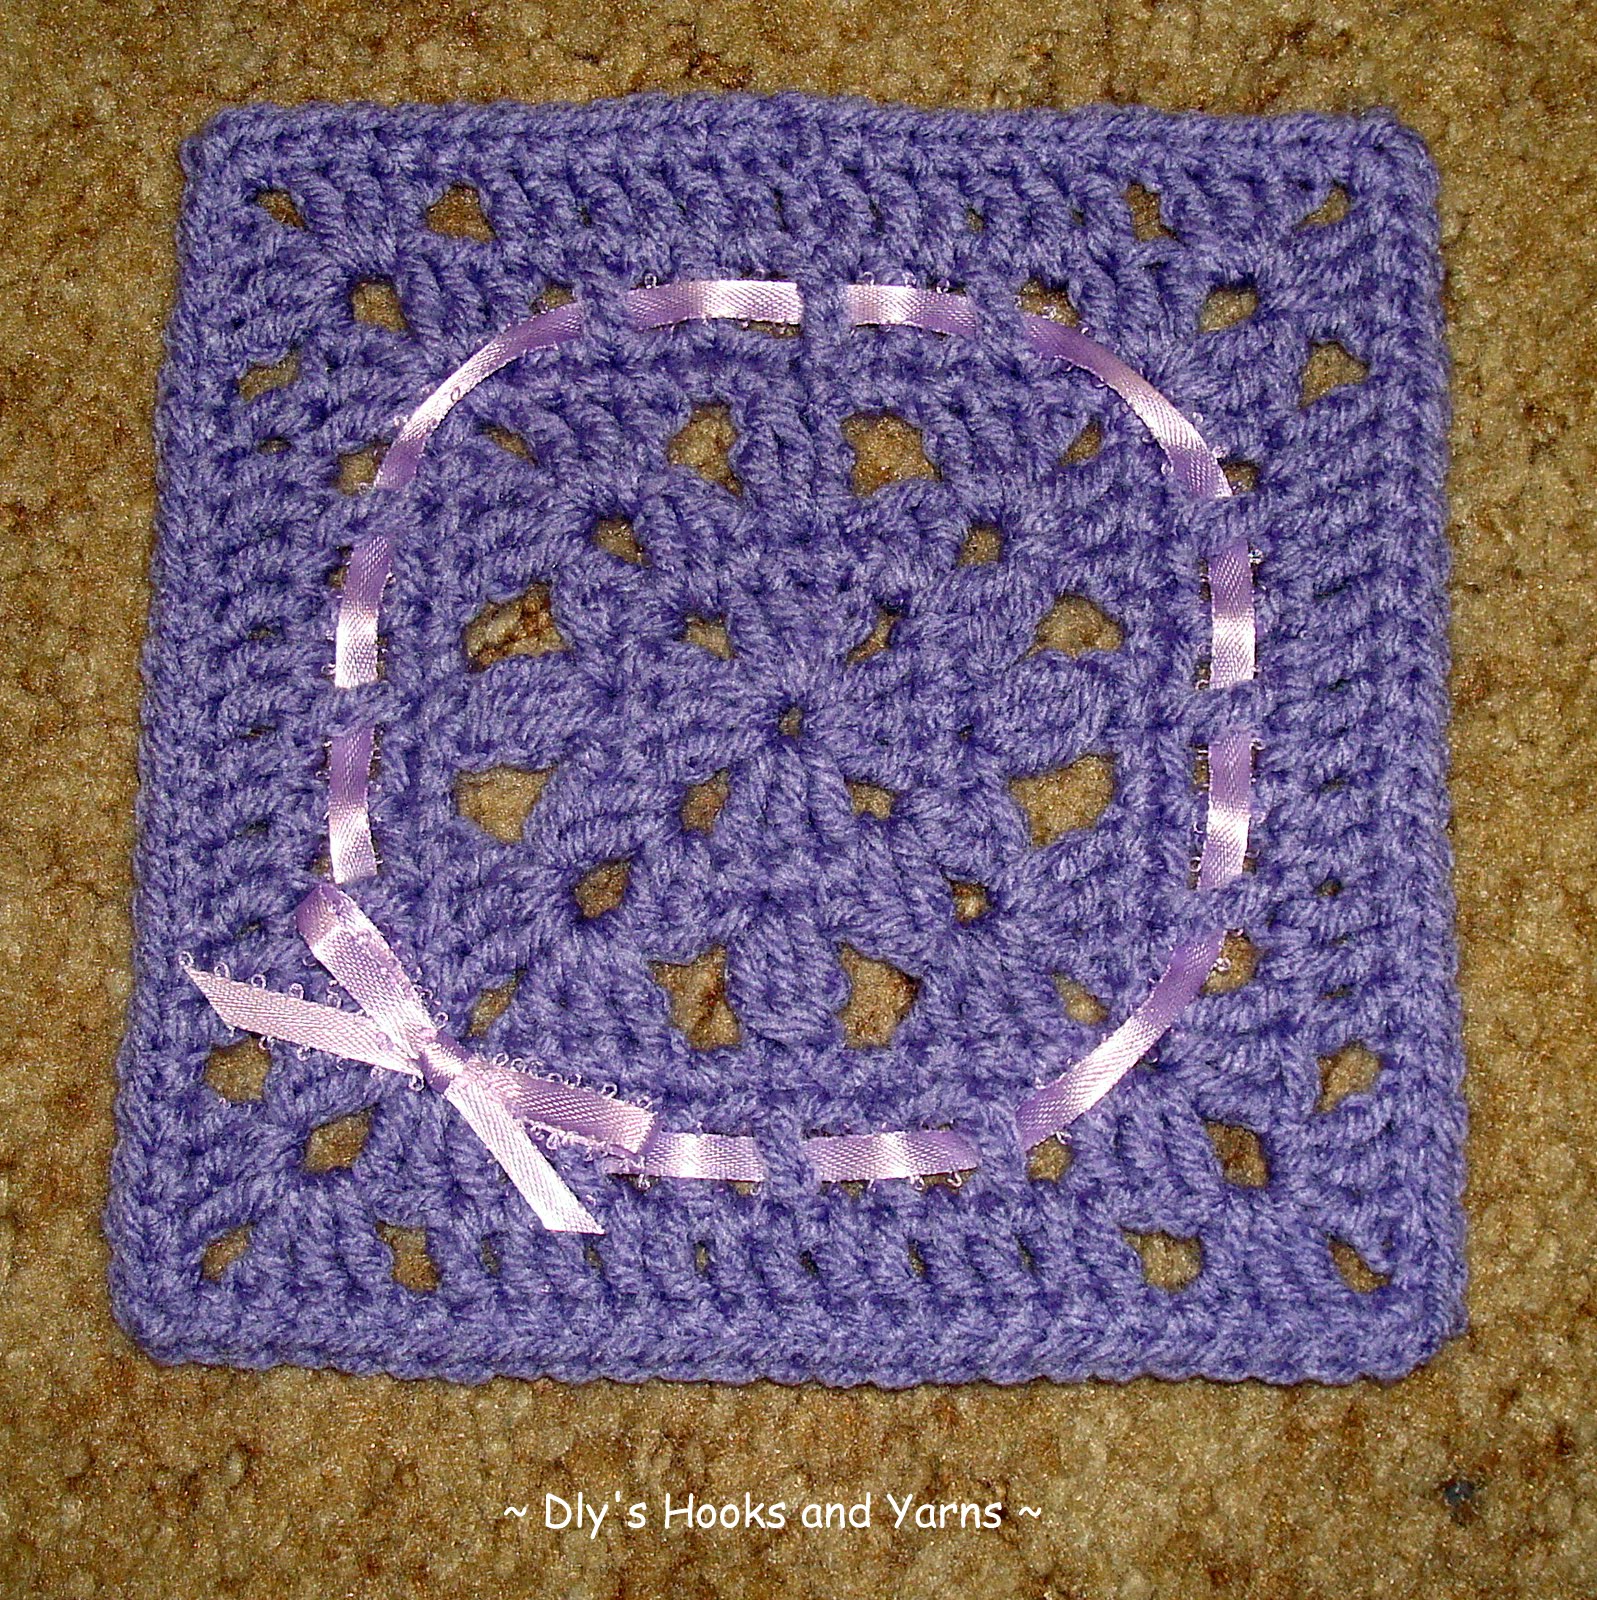
Size: 6" square
Notes:
- I crochet tight, so you may need to adjust the size of your crochet hook
- beginning cluster: ch 2, yo, insert hook in space, yo, pull thru, yo, pull thru 2 loops, yo, insert hook in same space, yo, pull thru, yo, pull thru 2 loops, yo, pull thru last 3 loops.
- cluster: yo, insert hook in space, yo, pullthru, yo, pull thru 2 loops, yo, insert hook in same space, yo, pull thru, yo, pull thru 2 loops, yo, insert hook in same space, yo, pullthru, yo, pull thru 2 loops, yo, pull thru last 4 loops.
Directions:
Rnd 1: Ch 4 (make your 1st chain a little looser), 2 dc in 4th ch from hook, 2 dc in same ch, ch 2. (3 dc, ch 2) in same ch 3 more times. Join with a sl st to top of beginning ch 4.
Rnd 2: Ch 1, sc in same st as joining, sc in next dc, (2 dc, ch 2, 2 dc) in corner ch-2 space. *sc in next 3 dc, (2 dc, ch 2, 2 dc) in corner ch-2 space. Repeat from * 2 more times. Sc in next dc. Join with a sl st to 1st sc.
Rnd 3: Beginning cluster, ch 2, (3 dc, ch 2, 3 dc) in corner ch-2 space. *ch 2, skip next 3 sts, cluster in next sc, skip next 3 sts, ch 2, (3 dc, ch 2, 3 dc) in corner ch-2 space. Repeat from * 2 more times, ch 2. Join with a sl st to top of beginning cluster.
Rnd 4: Ch 1, sc in same st as joining. Sc in each st around with 2 sc in each ch-2 space and (sc, ch 1, sc) in each corner ch-2 space. Join with a sl st to 1st sc.
Rnd 5: Ch 4, skip next sc, dc in next sc, (ch 1, skip next sc, dc in next sc) 2 times, (2 dc, ch 2, 2 dc) in corner ch-1 space, dc in next sc. {*ch 1, skip next sc, dc in next sc. Repeat from * across. (2 dc, ch 2, 2 dc) in corner ch-1 space, dc in next sc.} Repeat directions between the brackets 2 more times. (ch 1, skip next sc, dc in next sc) 2 times, ch 1, join with a sl st to 3rd ch of beginning ch 4.
Rnd 6: Ch 3, dc in next 6 dc and ch-1 spaces, ch 1, skip next 2 dc, (3 dc, ch 2, 3 dc) in corner ch-2 space. *ch 1, skip next 2 dc, dc in the next 13 dc & ch-1 spaces, ch 1, skip next 2 dc, (3 dc, ch 2, 3 dc) in corner ch-2 space. Repeat from * 2 more times. Ch 1, skip next 2 dc, dc in next 6 dc & ch-1 spaces. Join with a sl st to top of beginning ch 3.
Rnd 7: Ch 1, sc in same st as joining, sc in each dc and ch-1 space around with (sc, ch 2, sc) in each corner ch-2 space. Join with a sl st to 1st sc. End off.
***Debi Y's pattern***
If desired, weave a 22" long ribbon through the stitches of Rnd 5.